How to Build our First Hello World App Using Android Studio
WHAT YOU WILL NEED:-
A Mac, Windows, or Linux computer. See the bottom of the Android Studio download page for up-to-date system requirements.
Internet access or an alternative way of loading the latest Android Studio and Java installations onto your computer.
Step 1: Install Android Studio
Android Studio is Google's IDE for Android apps. Android Studio gives you an advanced code editor and a set of app templates. In addition, it contains tools for development, debugging, testing, and performance that make it faster and easier to develop apps. You can test your apps with a large range of preconfigured emulators or on your mobile device, and build production APKs for publication.
Note: Android Studio is continually being improved. For the latest information on system requirements and installation instructions, refer to the documentation at developer.android.com.
To get up and running with Android Studio:
You may need to install the Java Development Kit - Java 7 or better.
Install Android Studio
Step 2: Steps to Create a Project in Android Studio
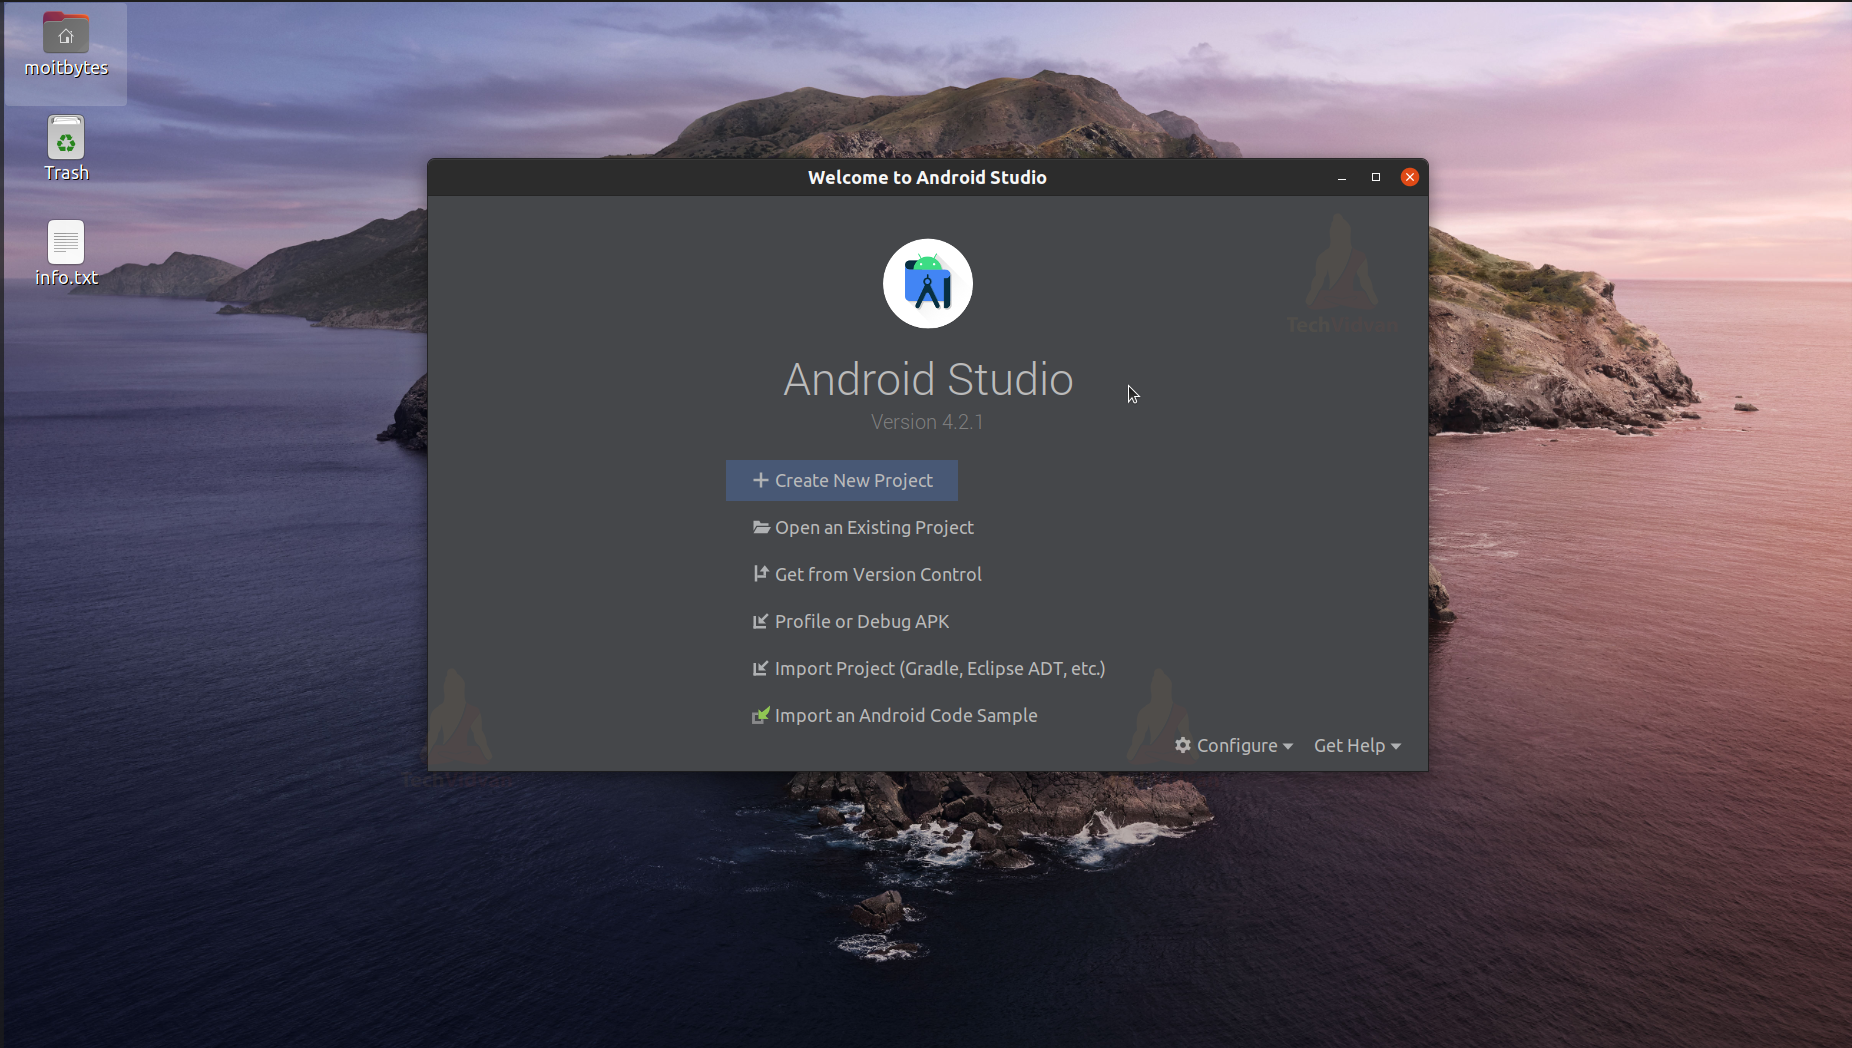
1) Opening Android Studio
If you are on Windows, click on the search bar and type “Android Studio.”
If you are on Linux, click “Show Applications,” located at the bottom left corner and search android studio and open it.
2) Creating a new Project
On the screen, click on “+ Create a New Project.”

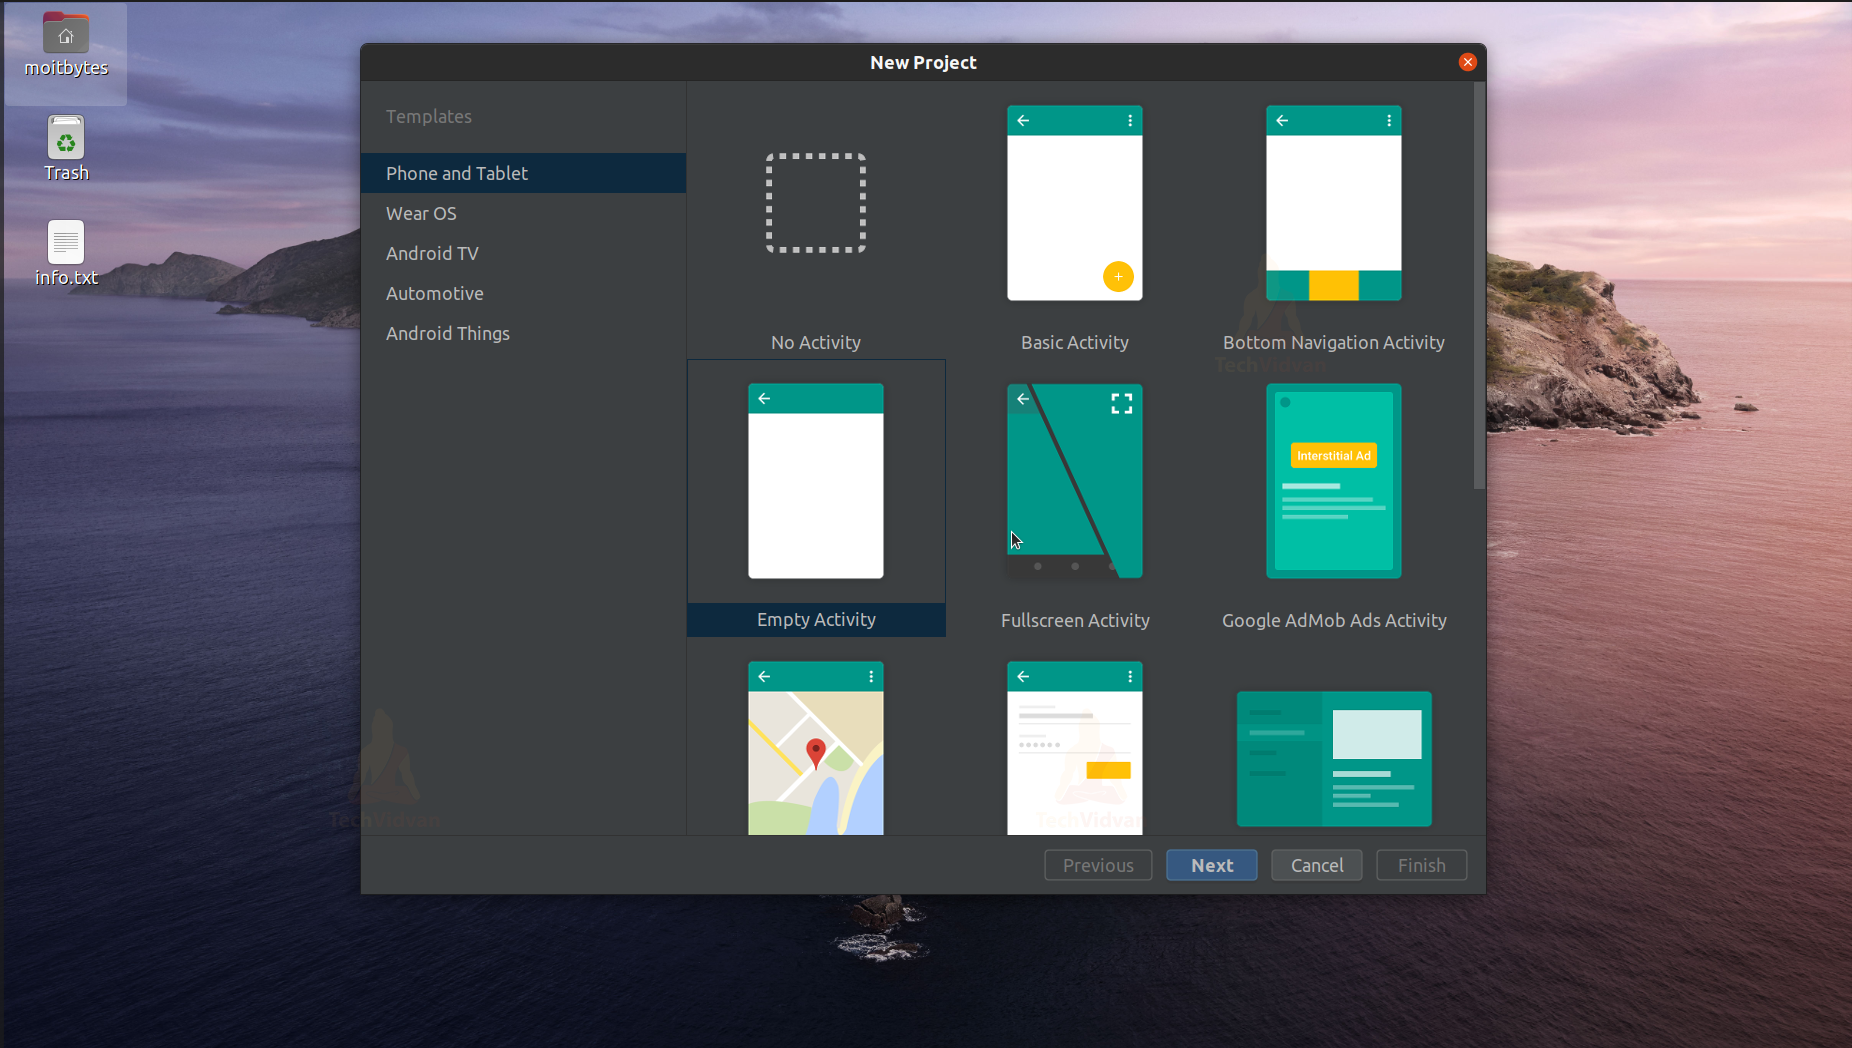
Step 3: Selecting Activity from New Project Tab.
You can see a variety of available activities in front of you. You need to select “Empty Activity” and proceed. There are options even to create apps for Wear OS and Android TV.

Step 4: Configuring your Activity
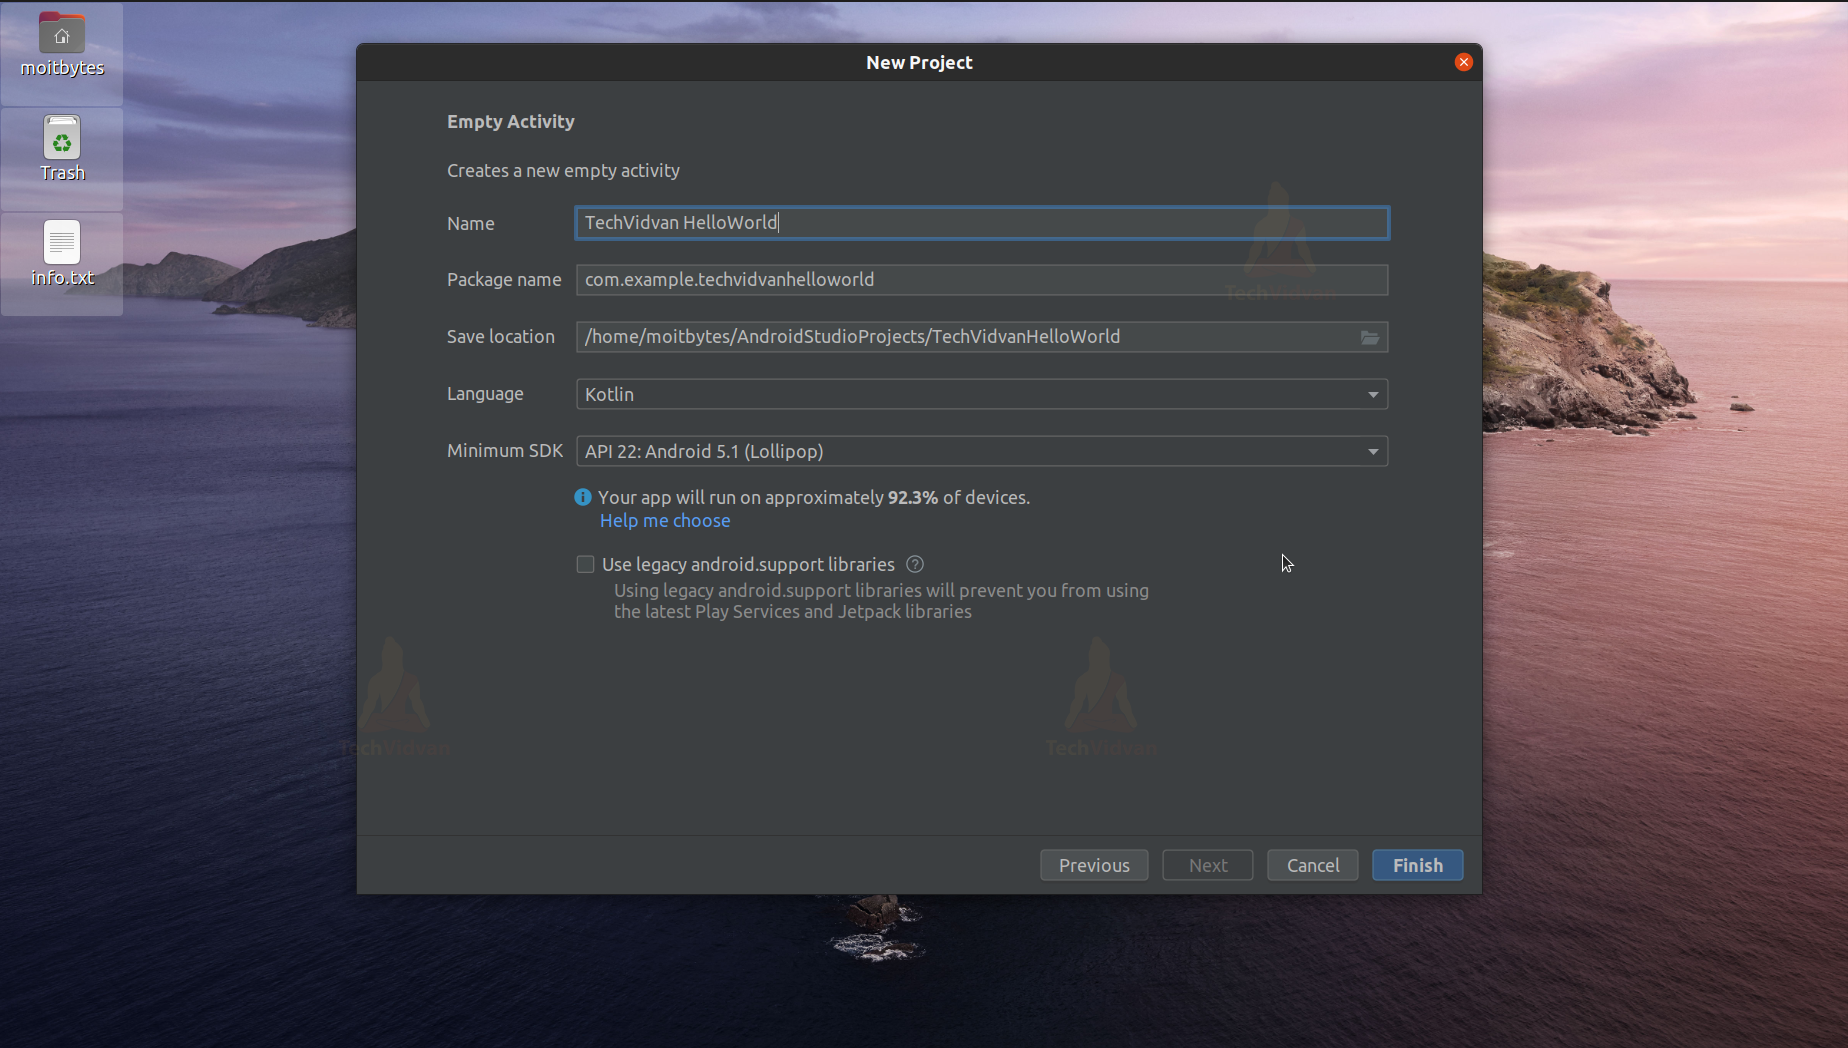
You would be available with several options, as shown below. You need to provide these details to create your empty activity. Let’s see each field.
1) Name: You need to provide your application name here. In our case, it is “TechVidvan HelloWorld.” You can provide space between the words.
2) Package Name: If you are working for an organization, you can keep the company domain as a package name. Otherwise, you can proceed with the default form, which is “com.example.your_app_name”.
3) Save Location: You can select your location wherever you want to save this project.
4) Language: Select Kotlin.
5) Minimum SDK: Select API 22, which is Android Lolipop. You are advised to use an Android version that covers more than 90% of the users.

Step 5:
Wait for the project to build and the files to load. After the files have loaded, the screen would appear something like the below:
1)Android Manifest File
On the left side, click on the manifest file, and it will load the AndroidManifest.xml file for you. (App —> Manifest —> AndroidManifest.xml)
Manifest describes the various components of Android like Activity, Services, etc. It also contains the app name and app logo and allows you to declare permissions.

2) Gradle Scripts
You can locate the Gradle files on the left-side navigation.
App—> Gradle Scripts —> build. gradle
We mainly deal with two types of Gradle files. One is the project-level Gradle file and the other is the app-level Gradle file. These Gradle files contain the dependencies of the various libraries.
App Level Gradle File:

Project Level Gradle File:

3) Other Files


Step 5: Create a virtual device (emulator)
In this task, you will use the Android Virtual Device (AVD) manager to create a virtual device or emulator that simulates the configuration for a particular type of Android device.
Using the AVD Manager, you define the hardware characteristics of a device and its API level and save it as a virtual device configuration.
When you start the Android emulator, it reads a specified configuration and creates an emulated device that behaves exactly like a physical version of that device, but it resides on your computer.
Why: With virtual devices, you can test your apps on different devices (tablets, phones) with different API levels to make sure it looks good and works for most users. You do not need to depend on having a physical device available for app development.
Steps to Create a virtual device
To run an emulator on your computer, you have to create a configuration that describes the virtual device.
In Android Studio, select Tools > Android > AVD Manager, or click the AVD Manager icon

in the toolbar.
Click the +Create Virtual Device…. (If you have created a virtual device before, the window shows all of your existing devices and the button is at the bottom.)
The Select Hardware screen appears showing a list of preconfigured hardware devices. For each device, the table shows its diagonal display size (Size), screen resolution in pixels (Resolution), and pixel density (Density).
Choose any hardware device according to your project needs and performance and click Next.
On the System Image screen, from the Recommended tab, choose which version of the Android system to run on the virtual device. You can select the latest system image.
There are many more versions available than shown in the Recommended tab. Look at the x86 Images and Other Images tabs to see them.
If a Download link is visible next to a system image version, it is not installed yet, and you need to download it. If necessary, click the link to start the download, and click Finish when it's done.
On the System Image screen, choose a system image and click Next.
Verify your configuration, and click Finish. (If the Your Android Devices AVD Manager window stays open, you can go ahead and close it.)
Step 6: Run your app on an emulator
In this task, you will finally run your Hello World app.
1) Run your app on an emulator
In Android Studio, select Run > Run app or click the Run icon

in the toolbar.
In the Select Deployment Target window, under Available Emulators, select the emulator according to performance and your project needs and click OK.
The emulator starts and boots just like a physical device. Depending on the speed of your computer, this may take a while. Your app builds, and once the emulator is ready, Android Studio will upload the app to the emulator and run it.
You should see the Hello World app as shown in the following screenshot.
